House Painting Cost Guide

house painting cost guide

House Painting: How Much Should House Painting Cost?

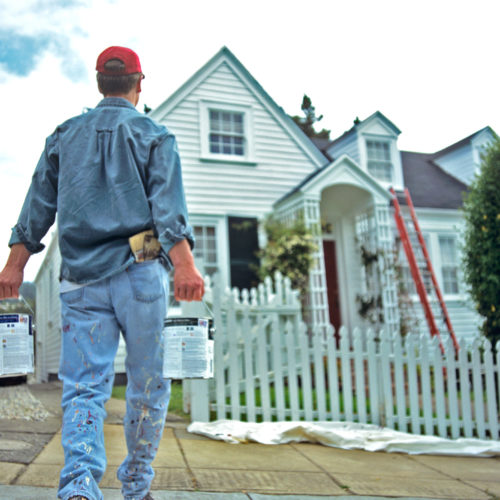
Painting the exterior of a home ranges by the square foot and the complexity of the painting project. Costs for homes of 500 to 1700 square foot cost from $899 to $3300. Depending upon your situation the average exterior paint job nationally costs about $2,479. Painting interior rooms inside your home with an average room size of 10×12 can range from $369-$779.

This does not include ceilings, trimmings or crown molding. Cost of needed materials for interior painting projects include masking tape and paper, surface repair and preparation material, primers, and cleanup supplies. Typical homeowner cost ranges per square foot come in around $0.87 – $2.09 per square foot.

Whether you’re looking to spruce up a single room or breathe new life into your entire house, painting your home is one of the best ways to get it done. However, before you pick up a brush and a random gallon of paint, there are quite a few things you need to know in order to avoid mistakes and be sure that you’re happy with the results.

Repair and repainting can be necessary when you begin to notice cracks and peeling. Home owners who ignore these signs may end up paying for it down the road with a more expensive paint job.

Six Things You Should Know Before You Paint Your House

The finish is just as important as the color

One of the most common mistakes that people make when purchasing paint for the interior of their home is not understanding the difference and importance between the different finishes available.

Not all finishes are ideal for all areas of the home. For example, high-gloss and satin finish paints are better for high traffic areas because they hold up well to being touched or cleaned frequently.

Extension poles will save you a lot of ladder climbing

One of the most tedious parts of painting either the interior rooms or exterior of a house is having to constantly climb up and down a step ladder to reach the higher areas.

It also adds an unnecessary element of danger to the project. You can avoid this though by simply purchasing an extension pole for your paint roller so you can get to those hard to reach areas comfortably from the ground.

Combine all of your paint to ensure color uniformity

One final mistake that many people make when painting, especially when it involves a larger project, is to open each gallon of paint one at a time as they work. While this may seem like a logical way to proceed, it can actually result in uneven patches of color that you won’t be able to see until after the paint is dry.

Patches can also be very tedious and time consuming to correct. Instead, empty all of your gallons of a certain color into a resealable plastic paint bucket.

Try a sample before you buy

Another common mistake that people make is to bring home a swatch book and hold it up to the wall thinking that that will give them a realistic impression of how a color will look. The truth is that more often than not, homeowners are shocked when they get a full gallon of paint on the wall that the color doesn’t look the way they had imagined it.

Keep in mind that many colors will change a great deal throughout the day as the light changes. In order to a avoid costly disappointment, purchase a sample size of a few colors you are interested in and paint them on two adjacent walls of the room you are planning to paint. Leave it there for a few days to observe how it changes in the light and decide whether you truly like it.

Do the math ahead of time

Another benefit to applying a sample of your color options is that it will help you to know ahead of time how many coats of paint you will be needing in order to achieve the desired color. Once you know how many coats you will need, you will better be able to estimate how much paint your job will require.

In order to calculate how much paint you’re going to need, add up all of the square footage of the area you will be painting and don’t forget to include the dormers and alcoves. It is also a good idea to include a little extra for wiggle room. Again, remember to account for multiple coats if necessary.

Invest in prepping your space properly

It’s true that prepping for a painting project is about as entertaining as watching paint dry. However, in the long run you will be infinitely more grateful to yourself if you suck it up and take the time to prep properly.

This means making sure that the space has been cleared of furniture (or furniture has been properly covered with drop cloths), the walls have been properly cleaned, missing drywall has been patched, etc. It’s also important to take the extra time to apply a coat of paint primer which will make a big impact in the end result of your paint job, especially for bolder colors and covering up bold colors.

Tape measure

Measure walls first so you’ll know how much paint to buy. Typically, one gallon of paint covers 400 square feet.

Primer

Use a primer with a stain blocker.

Stirrer

Usually comes free with any paint purchase. Always stir paint before applying.

Pouring spout

Attach the spout to a gallon of paint and pour without any mess.

Five-gallon bucket

For big jobs that require multiple gallons of paint, keep the color consistent by mixing all the cans in a large bucket.

Screen

Place this inside the bucket to wipe any excess paint off the roller.

Roller tray

Use a metal or sturdy plastic tray for smaller projects.

Tray liner

Save clean-up time by using a disposable paint-tray liner.

Roller cover.

A 3/8-inch nap provides the best finish for most interior walls.

Angled sash paintbrush

To paint trim, use a two-inch angled brush, which will give you more control.

Blue painter’s tape

Essential for protecting trim or walls that you don’t want to get paint on.

Drop cloths

Protect furniture with plastic coverings. Place a reusable canvas drop cloth, which is less slippery than plastic, on the floor.

Hole filler

Quicker than spackling: Dab hole filler into small holes in the wall.

Screwdriver

Use to loosen any ceiling plates of lighting fixtures and remove switch plates before painting.

Sponge

Before priming, wash the walls with a few drops of dish washing detergent mixed with water.

The Steps:

Once you have assembled all of your tools and materials, you are ready to begin. Here is an easy to follow step-by-step manual to guide you through the process of painting your home’s interior.

Remove all furniture and possessions from the room and cover floors with a drop cloth.

Thoroughly clean your walls and allow them to dry.

Tape off edges, doors, windows, molding, and trim.

Apply white primer and allow to dry. You may want to keep windows open to allow the walls to dry faster throughout the entire process. Fans will also help to expedite the process.

Apply paint starting from the outside edges cutting in so that it will be easier to roll on.

Roll on first coat of paint and allow to dry thoroughly before applying any additional coats.

How to Calculate the Cost of Painting your Home’s Interior

In order to calculate the cost of painting the interior starting with a room, you will need to figure out how many square feet you will be painting. Keep in mind that the average gallon of paint is expected to cover about 400 square feet. Begin by multiplying your walls height by length.

You will need to calculate the same measurement for doors and windows and then subtract the sum of all of them from the total square footage of the wall space. Add in an additional $200 for the supplies and you will have a good estimate for the total cost of your painting project.

Kitchen Cabinets

How to Paint your Cabinetry

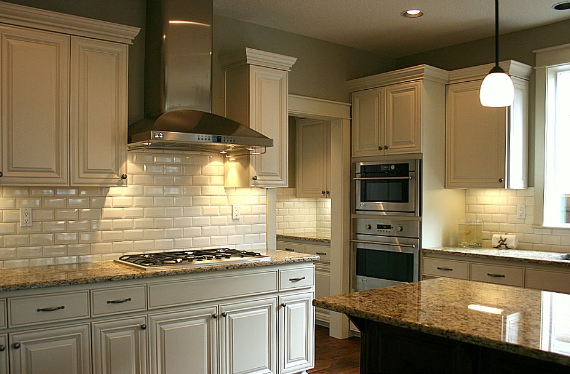
If you plan to include your kitchen or bathroom cabinets in the refacing of your house, you will save a lot of money by choosing to paint them rather than replace them. However, painting cabinetry is a different process from painting walls or siding and requires attention to detail. Here is a simple guide to painting your cabinets that will save you time and money:

The Steps

The first and most important step in the entire process is to thoroughly and entirely clean your cabinets. This is especially true for kitchen cabinets which tend to collect years of built up food splatter, greasy fingerprints, and grime which will cause the new paint to peel and crack if not properly removed.

First remove the doors and the hardware. Use TSP substitute or degreaser, elbow grease, and 100 grit sandpaper to remove all of the built up gunk and grime.

Sponge

Once everything has dried completely, reassemble all of the hardware, doors and drawers. If you have trouble getting things to hang evenly, adjust the hinges to fool the eyes and make them appear straight.

Screwdriver

Paint your cabinets using a two inch brush moving first against the grain and then with it. Paint the interior portions before doing the rails and edges.

Sponge

Allow them to dry thoroughly before painting a second coat.

Hole filler

Next you will want to apply a coat of primer. Make sure that you select one that is appropriate for the material your cabinets are made from, as well as, the finish that you are hoping to achieve.

Lay all of you doors out flat on a drying rack to ensure that the primer and paint dry evenly without dripping. Once dry, sand cabinets using 220 bit sandpaper and then vacuum them to remove any dust.

How to Paint your House’s Exterior

What You Will Need to Get it Done Right
(Tools)

Paint brushes or rollers

Paint Sprayer (available for rent at many hardware or paint supply stores)

Wire brush

Ladder

Homer bucket

Putty knife

Extension pole

Sand paper

Safety glasses

Materials

Exterior paint

Tape

Caulk

Exterior trim paint

TSP solution

Glazing compound

Drop cloths or sheeting

Wood filter

The Steps:

Once you have assembled all of your tools and materials, you are ready to begin. Here is an easy to follow step-by-step manual to guide you through the process of painting your home’s exterior.

Trim back all necessary foliage like bushes, trees, or hedges. Also be sure to cover your air conditioning units with a drop cloth and secure with tape.

Close your storm windows and remove your shutters.

Inspect your siding for any holes or areas in need of repair. Fill holes with your wood filler and refinish the surface with your sand paper.

If the old putty on your windows is cracked or has shrunk, you will need to reglaze them using your putty knife and glazing compound.

Clean the trim and siding of the house with the TSP solution and then rinse with a hose.

If there are water stains on any of your masonry, you will need to apply a coat of primer.

Rinse the entire house again.

If your trim will be a second color from the rest of the house you will need to paint it and the soffits first.

Starting at the top, roll or brush on paint starting from the top and working your way down and inward.

The best way to speed up the process is to use a paint sprayer.

How to Calculate the Cost of Painting your Home’s Exterior


In order to calculate the cost of painting your home’s exterior, you will need to figure out how many square feet you will be painting. Keep in mind that the average gallon of paint is expected to cover about 400 square feet. Begin by multiplying your walls height by length.

You will need to calculate the same measurement for doors and windows and then subtract the sum of all of them from the total square footage of the wall space. Add in an additional $200 for the supplies and you will have a good estimate for the total cost of your painting project.